Getting started with ChatGPT
By the end you’ll have asked ChatGPT about real activity from your intervals.icu account and gotten a sourced answer from icuvisor.
This tutorial is for a local ChatGPT MCP surface that explicitly accepts a stdio command on your Mac. For ChatGPT web at chatgpt.com, use the hosted custom connector flow instead; it does not require local install and uses https://connect.icuvisor.app/mcp. See Connect ChatGPT before trying this flow.
What you’ll need
- macOS 13 or newer.
- A ChatGPT surface that supports local MCP stdio servers.
- An intervals.icu account.
- About 10 minutes.
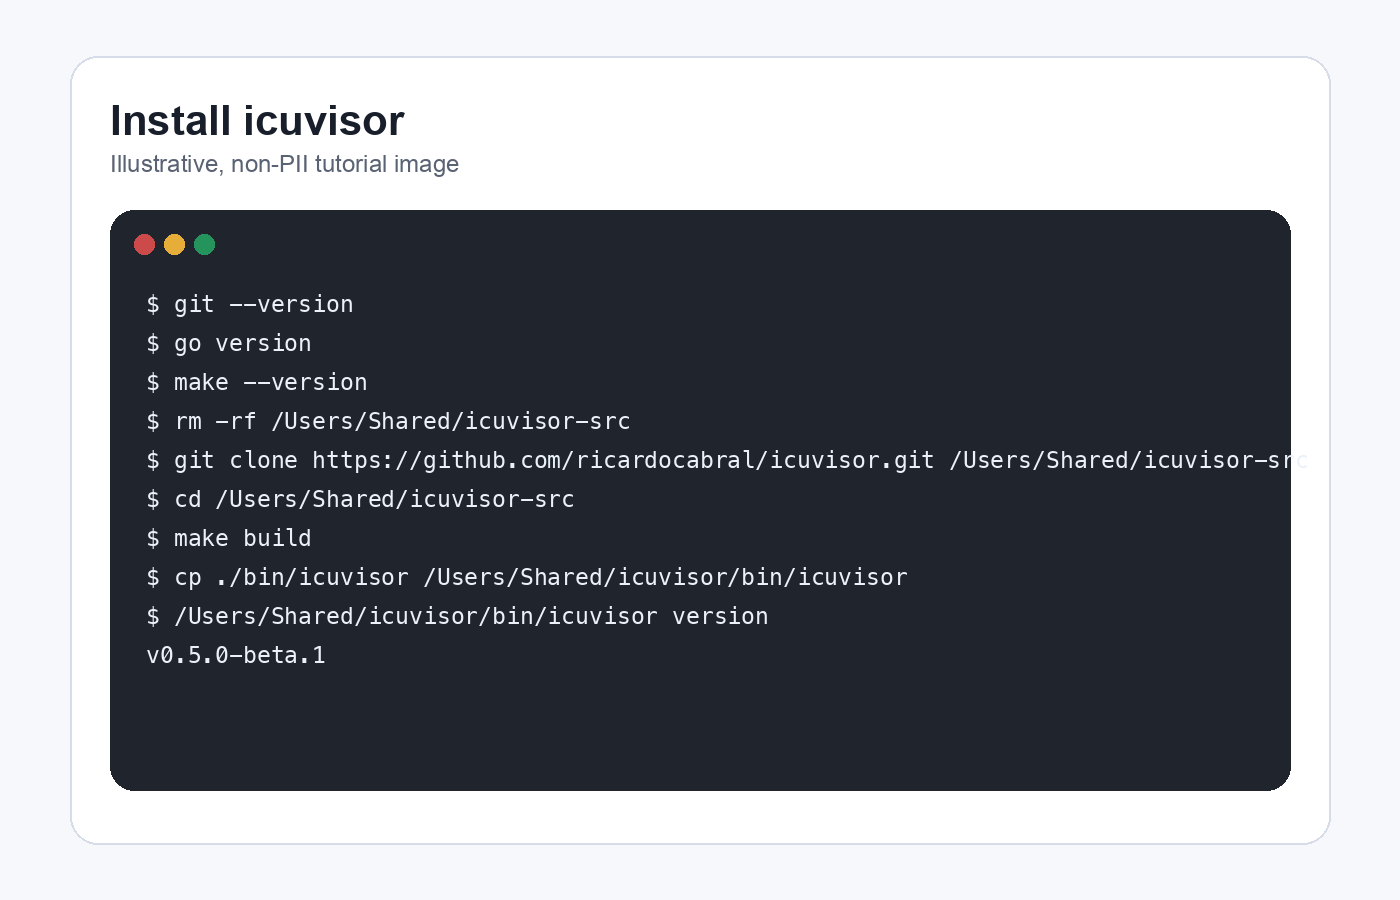
Step 1 — Install icuvisor
Download the signed macOS DMG from the latest GitHub release:
icuvisor_<version>_macos_universal.dmgSHA256SUMS.txt(optional, for verification)
Optional — verify the checksum from the download folder:
shasum -a 256 -c SHA256SUMS.txt --ignore-missingOpen the DMG and drag icuvisor.app into /Applications. Then confirm the binary starts:
/Applications/icuvisor.app/Contents/MacOS/icuvisor versionThe command prints the icuvisor version. Leave this Terminal window open.
For other install paths (Windows, Linux, build from source), see the install guide.
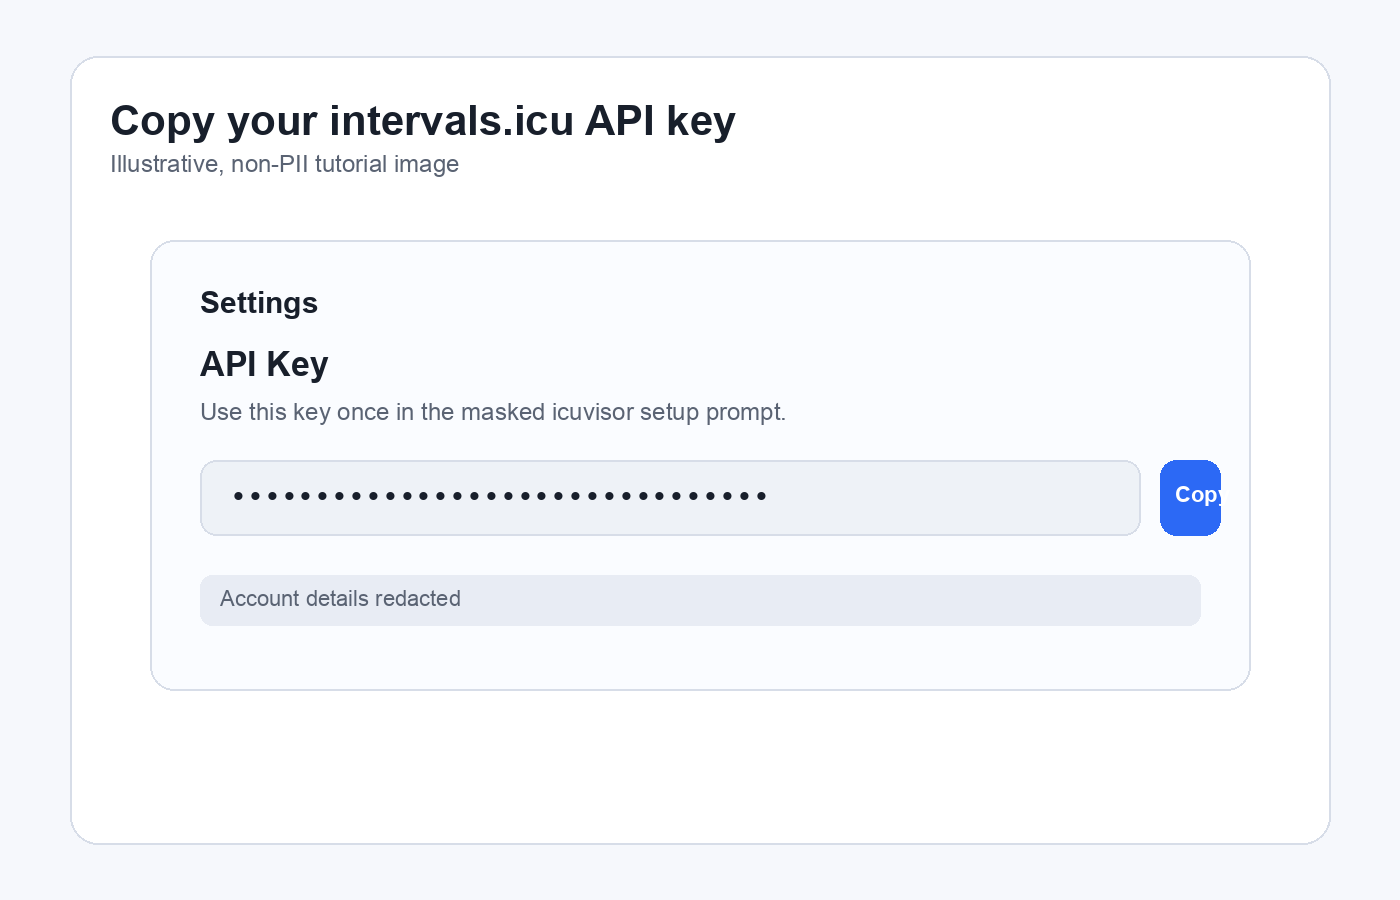
Step 2 — Get your intervals.icu API key
Open intervals.icu settings in your browser.
Scroll to Developer Settings or API Key. Create a key if you do not already have one. Copy the key. You will paste it once into icuvisor, not into ChatGPT.
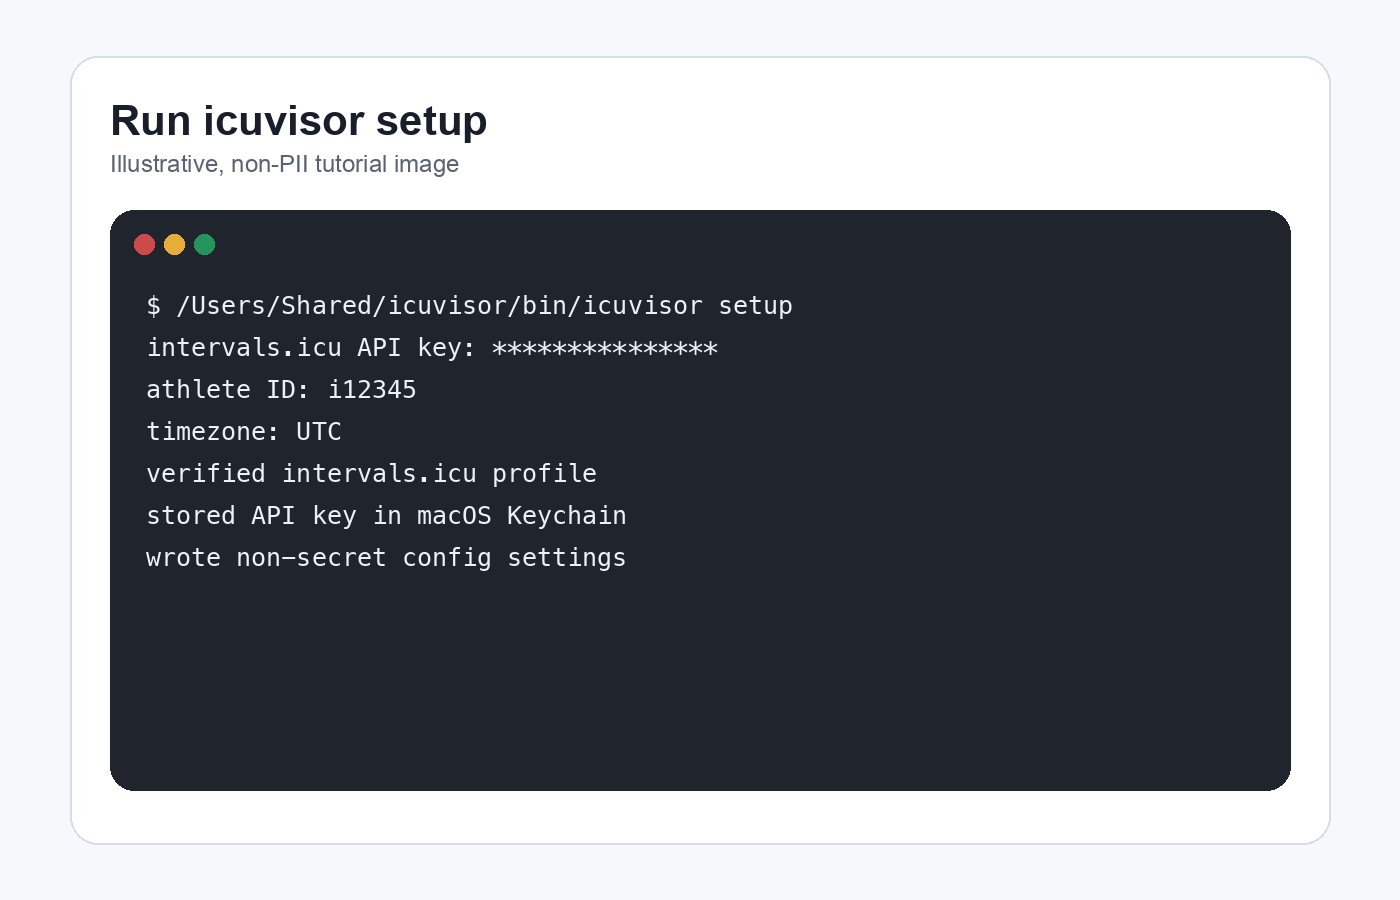
Step 3 — Run icuvisor setup
Return to Terminal and run:
/Applications/icuvisor.app/Contents/MacOS/icuvisor setupPaste the API key when icuvisor asks for it. The prompt is masked, so the key does not appear in Terminal.
Enter your athlete ID and timezone when prompted. Your athlete ID is the number from your intervals.icu profile URL, with or without the i prefix. Use an IANA timezone such as America/New_York, Europe/London, or America/Sao_Paulo. Setup verifies the key, stores it in the macOS Keychain, and writes only non-secret settings to the icuvisor config file.
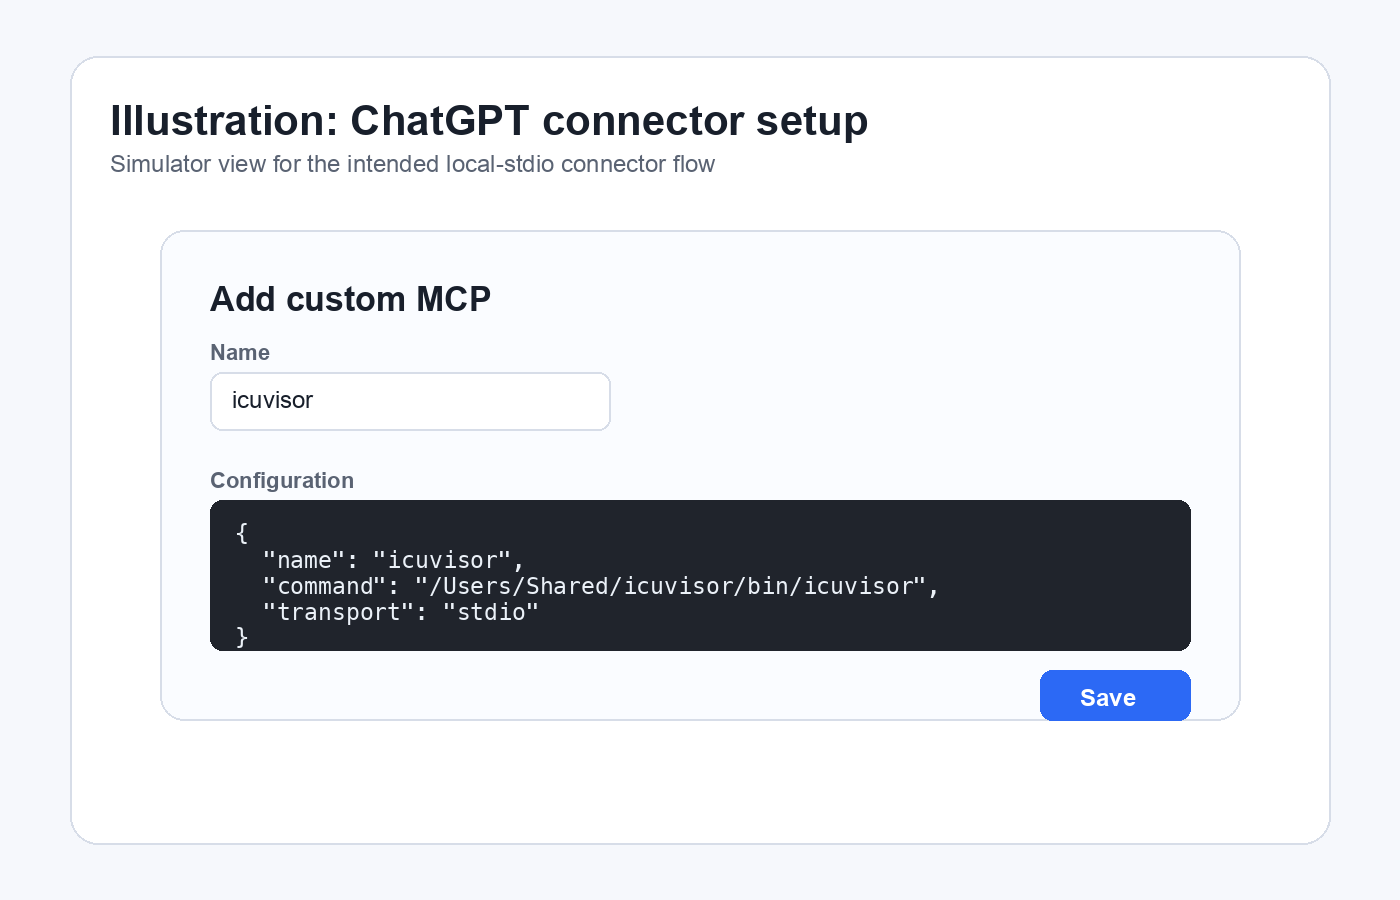
Step 4 — Connect ChatGPT
Open the local ChatGPT MCP surface.
Open the MCP server configuration screen. The exact labels can change while ChatGPT MCP support evolves; do not use a hosted connector screen that asks only for a remote HTTPS URL.
Name the connector icuvisor and paste this configuration:
{
"name": "icuvisor",
"command": "/Applications/icuvisor.app/Contents/MacOS/icuvisor",
"transport": "stdio"
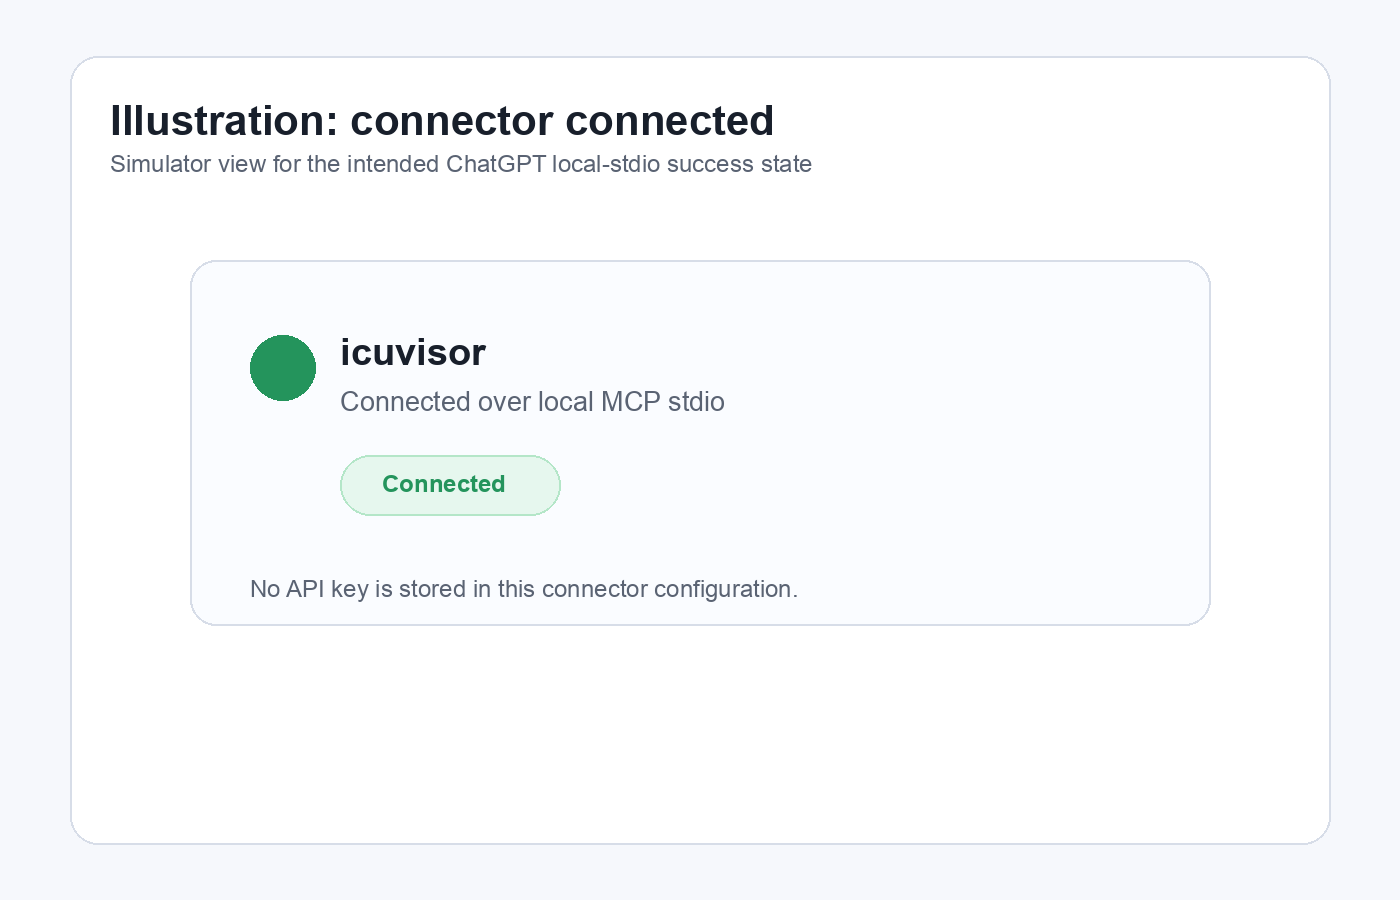
}Save the connector. ChatGPT starts icuvisor when it needs your training data.
When ChatGPT shows the connector as connected, start a new chat.
Step 5 — Ask your first question
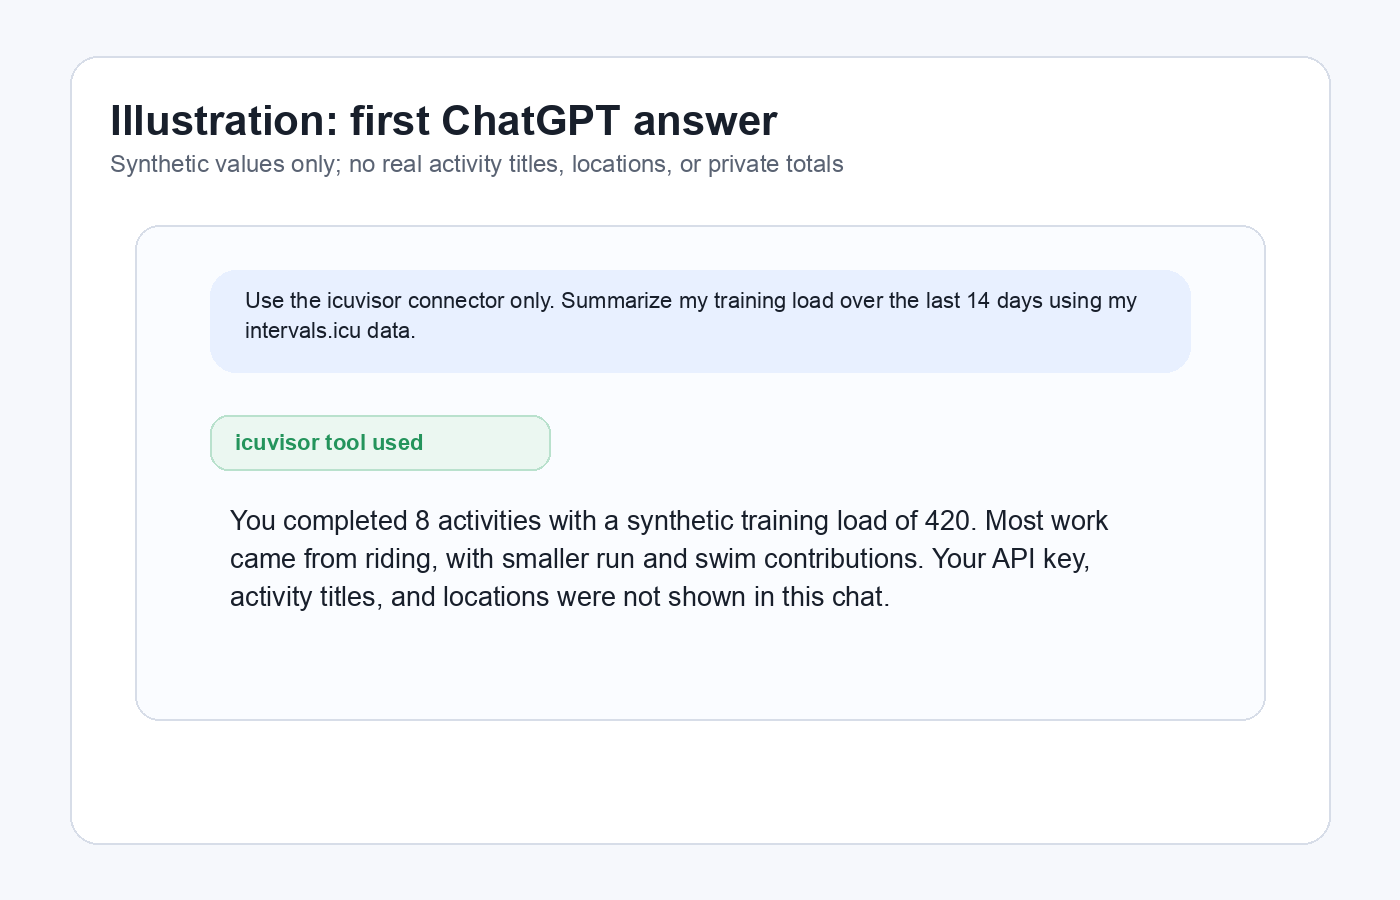
Paste this prompt into the new chat:
Use the icuvisor connector only. Summarize my training load over the last 14 days using my intervals.icu data. Do not answer from memory or estimates.ChatGPT asks icuvisor for the data it needs and then answers in plain language.
A good first answer looks like this:
Over the last 14 days you completed 8 activities for a synthetic training load of 420. Most of the load came from riding, with smaller run and swim contributions. Your total time was 7 hours 35 minutes and your total distance was 84.2 km. I used icuvisor’s training summary tool, so I did not need your API key, activity titles, or location data in the chat.
What just happened
ChatGPT asked icuvisor for your data through MCP. icuvisor talked to intervals.icu using your API key, which stayed on your Mac in the Keychain.
Learn more in What is MCP? and Local-first by design.
Where to next
- Try beginner prompts for concrete “what can I ask?” examples
- Browse the cookbook for ready-made prompts and multi-step recipes
- Configure another AI client
- Explore the full tool catalog
- Set up coach mode for a roster
If a macOS security prompt, Keychain prompt, or connector error interrupts the flow, use the troubleshooting guide after this tutorial.